A Note on This Build This is one of my longest blogs, documenting the most difficult instrument I have built. Many parts had to be remade and reworked. Ultimately I ended up with a gorgeous instrument that I have to this day. Although I have all the templates and forms I made, I am not sure if I will ever make another harp ukulele.
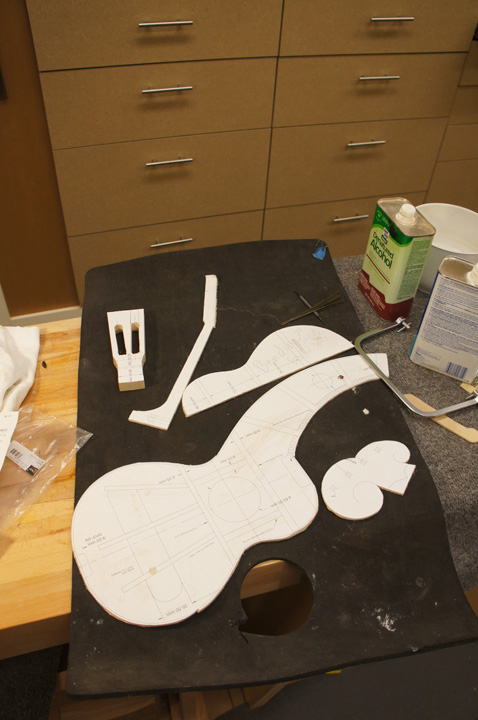
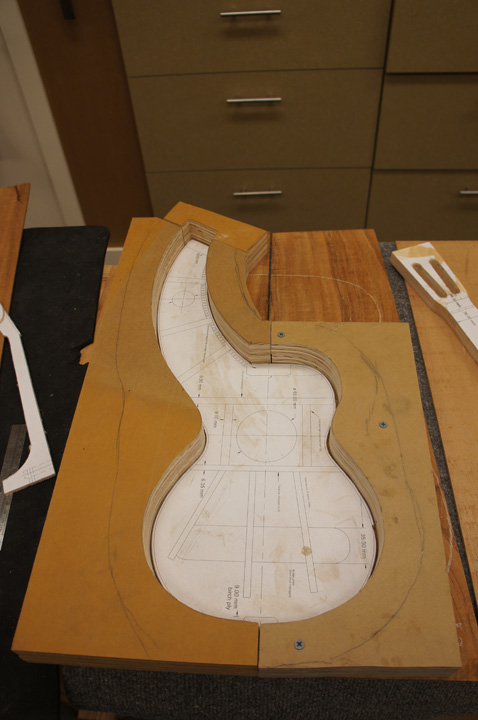
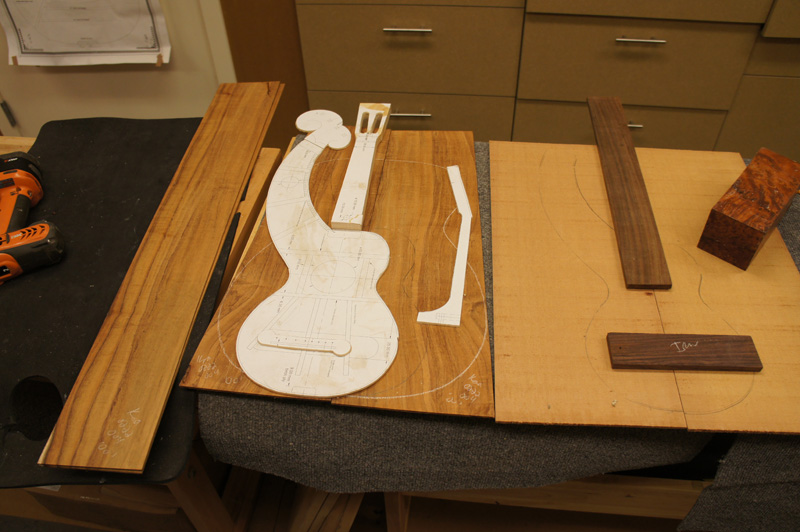
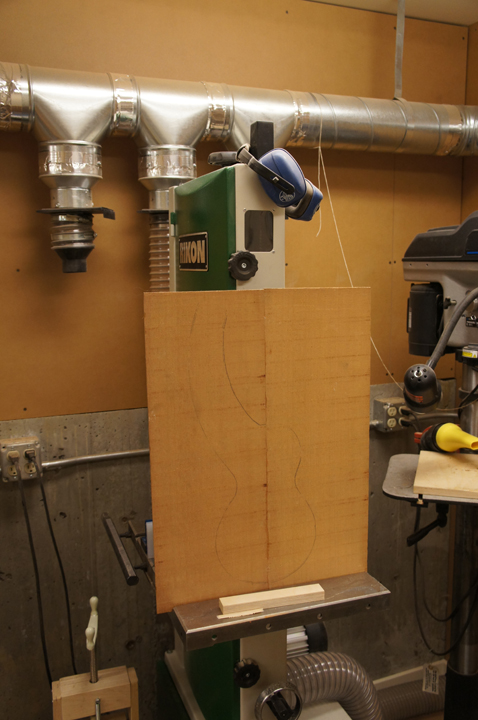
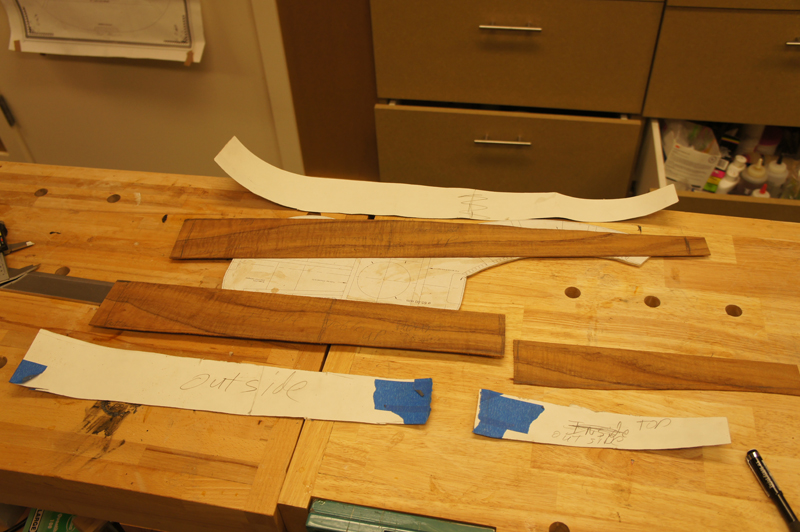
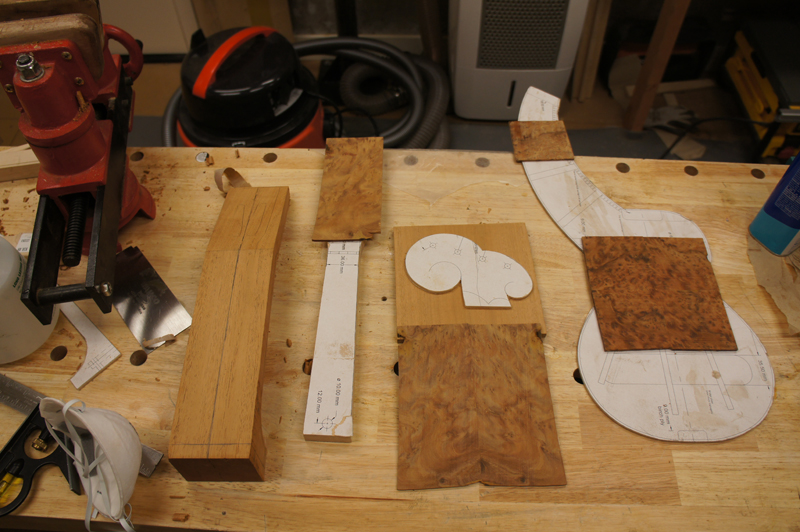
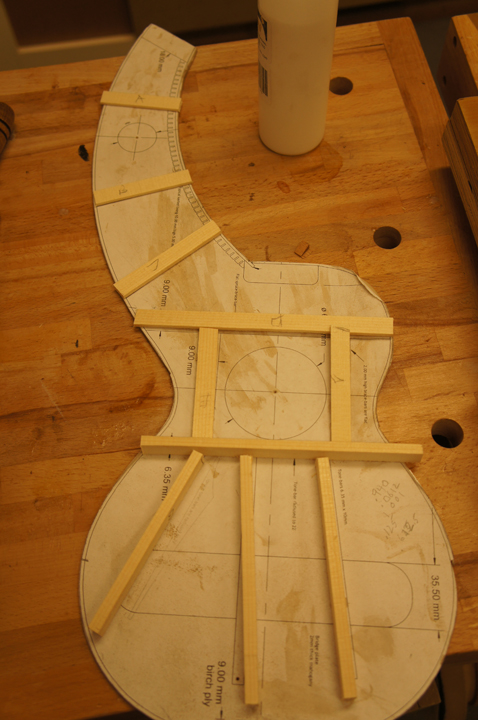
I spent the day preparing to build a harp ukulele for a city arts program auction. I bought a set of plans from Pete Howlett in the UK. I always take the plans to Kinko’s and do a few full-sized copies — this allows me to keep the original and cut up a set to make the acrylic templates I like to have.
For the top I started with Western Red Cedar, and I found some Thuya Burl and Amboyna Burl at the woodworking store. Dave asked about the Thuya — the fragrance when you cut into it is unbelievable.
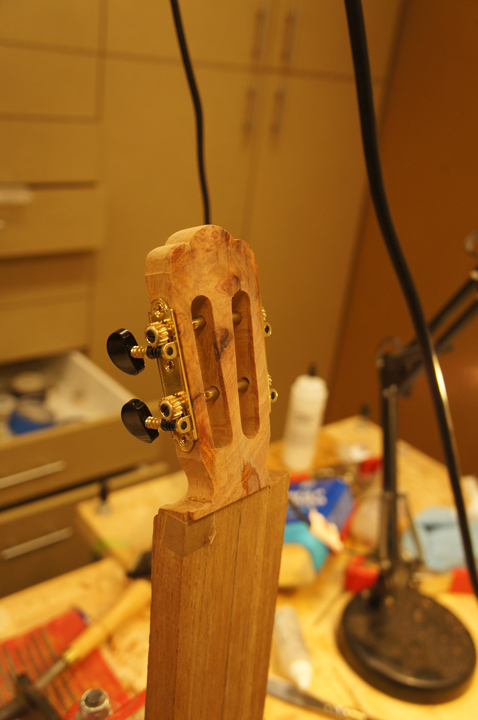
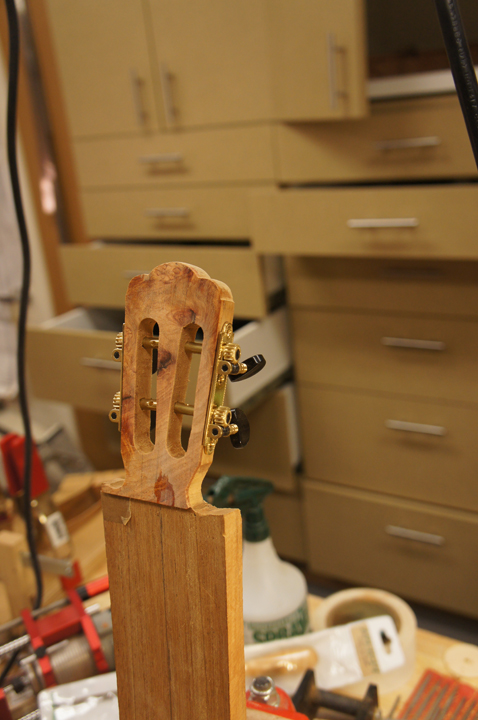
Tuning Machines I asked Kathy Matsushita about the beautiful individual slotted tuning machines on her builds. They are made by Schertler — the best ukulele tuner available, and she warned me they are not cheap.
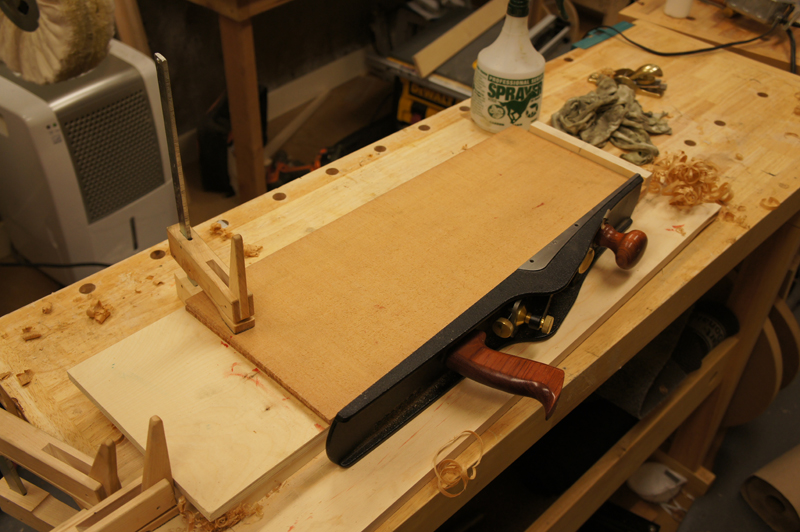
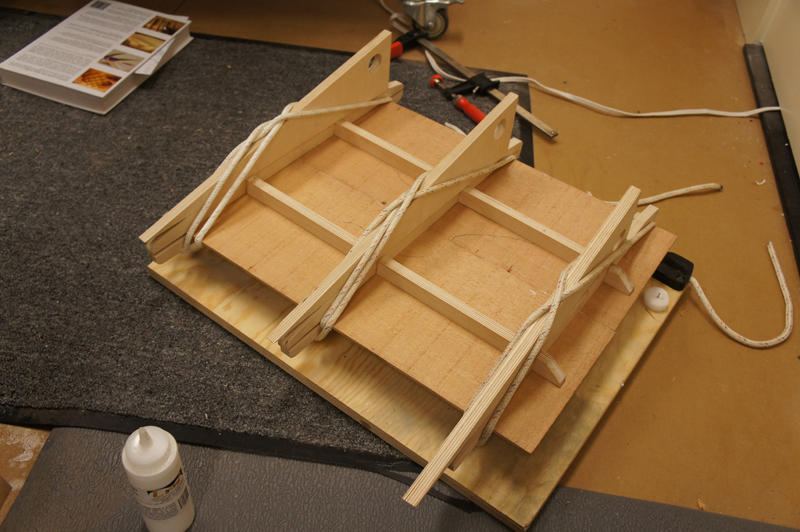
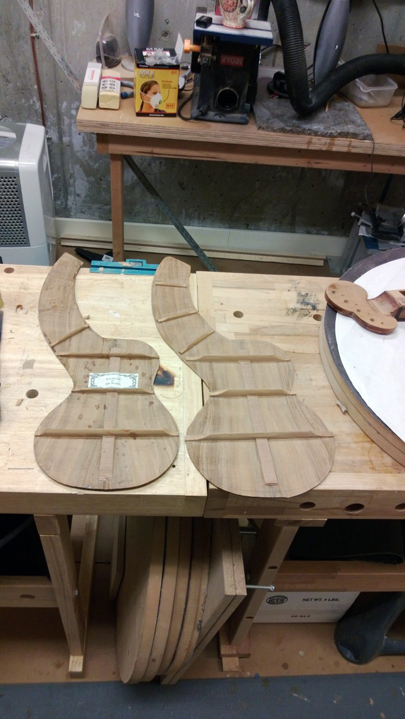
With the bass guitar out of the way and a couple of weekends doing garden work, I finally got back to the harp ukulele. First up, I made a shooting board to help join the top and back plates.
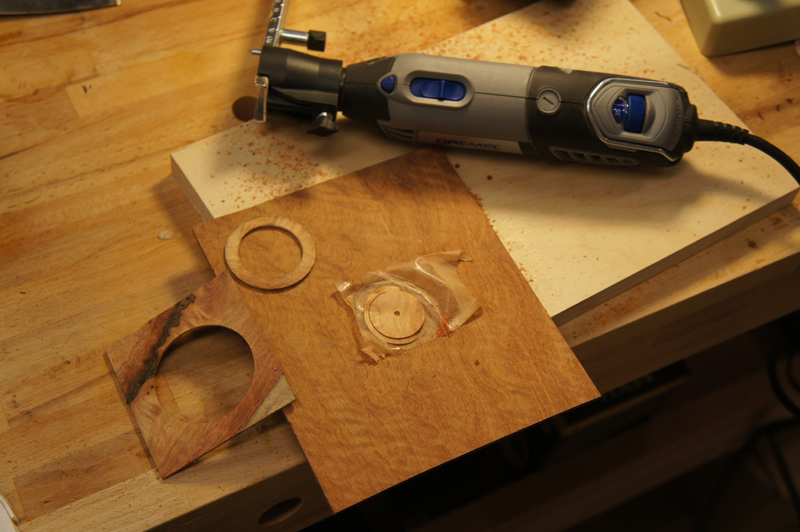
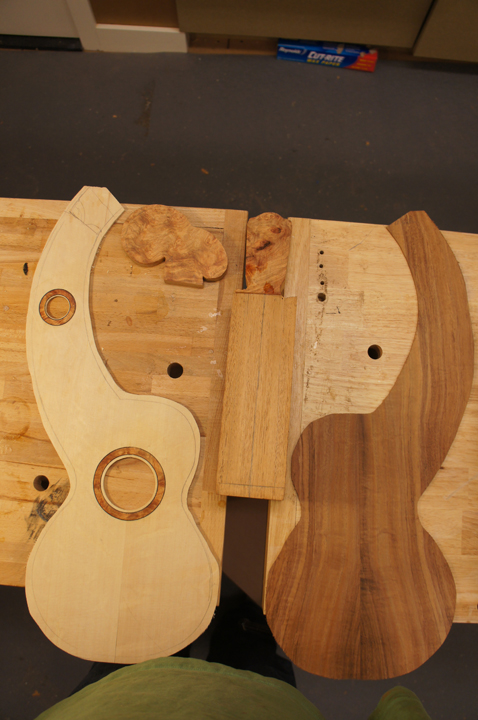
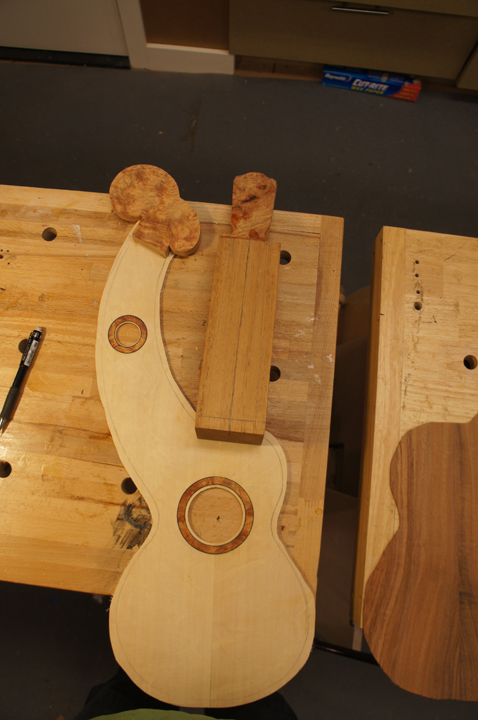
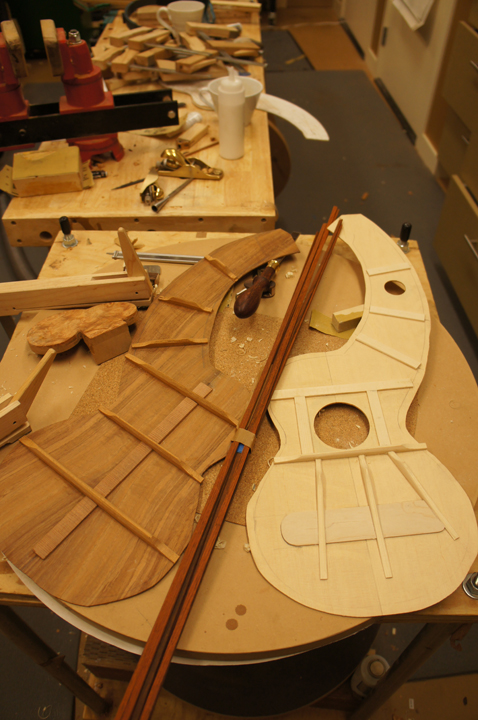
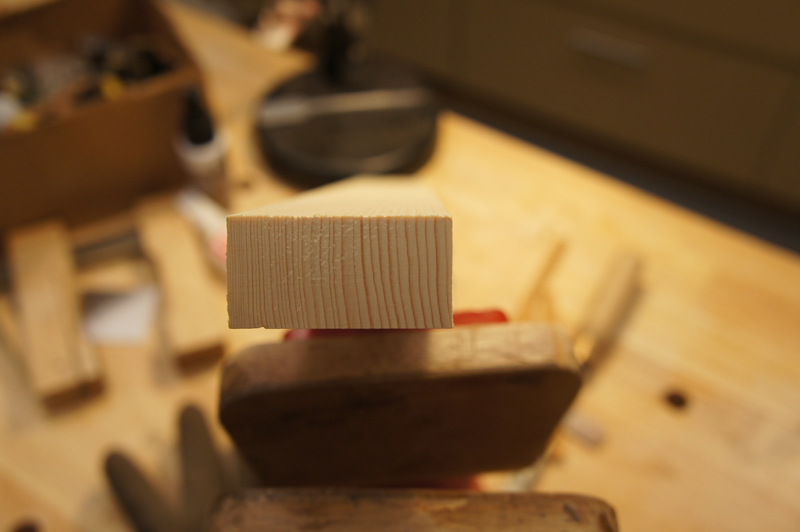
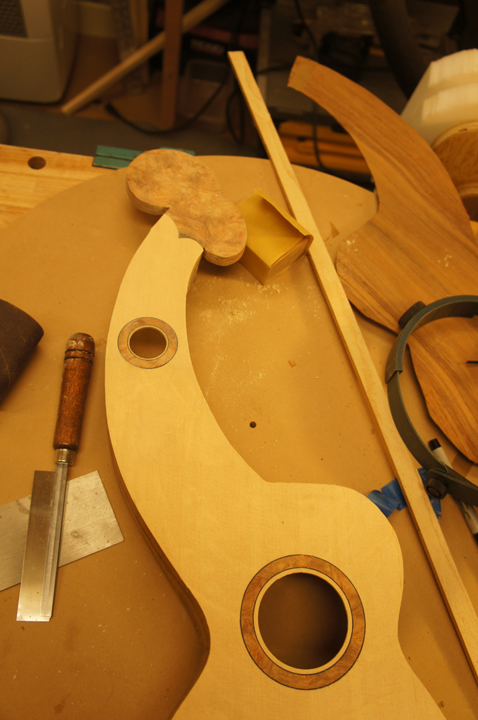
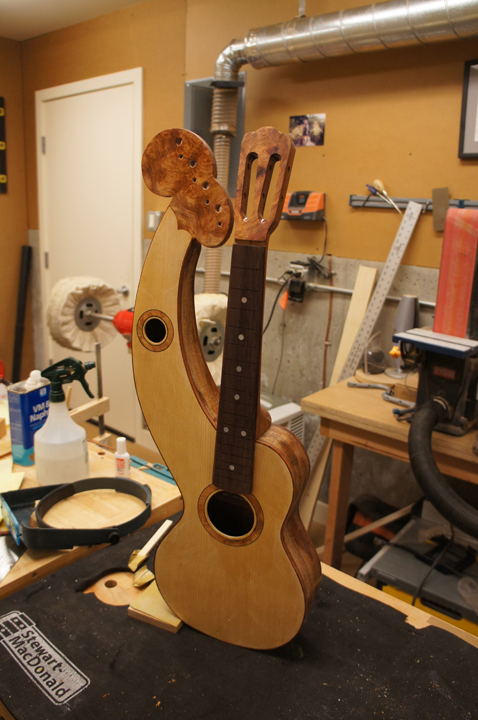
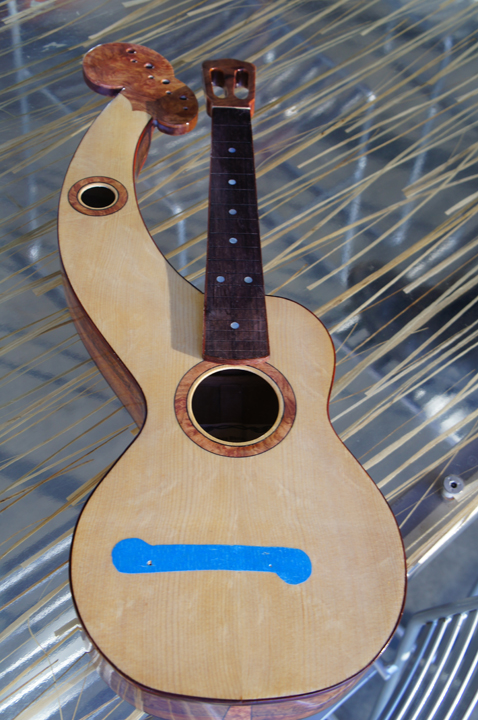
I ended up not liking the colour of the Thuya Burl on Cedar — they are so close that they clash. So I changed my top to Bear Claw Sitka Spruce with Amboyna Burl for the rosettes and pegboard veneers. I was able to make and install both rosettes — the little rosette in the harp neck was trickier than I expected.
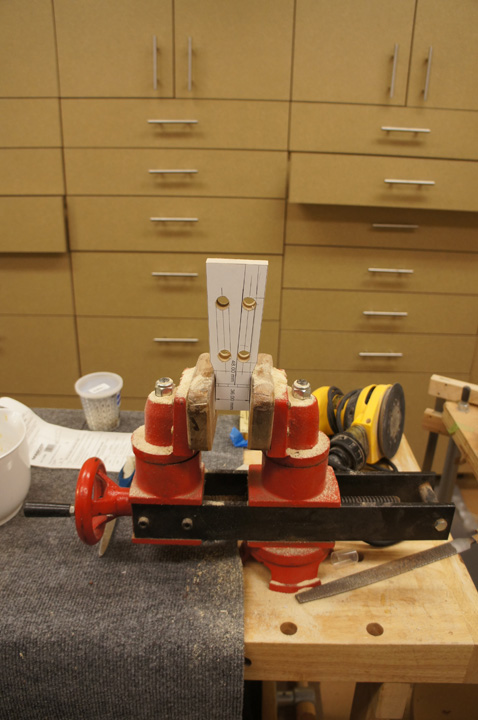
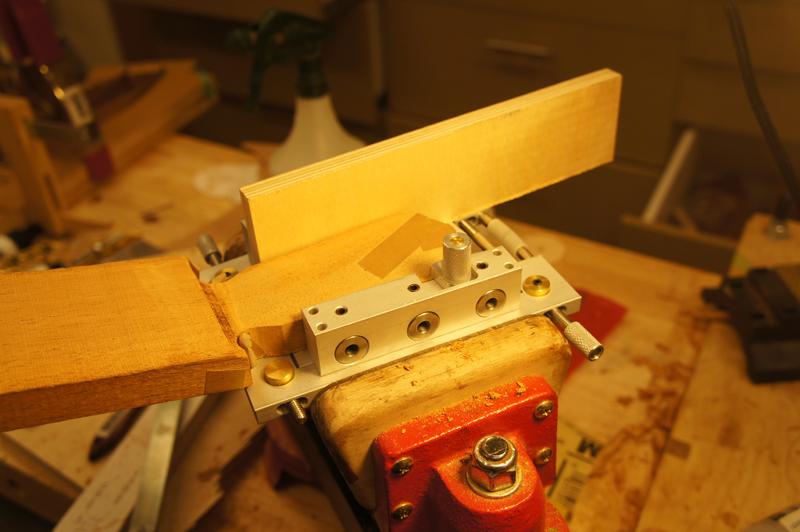
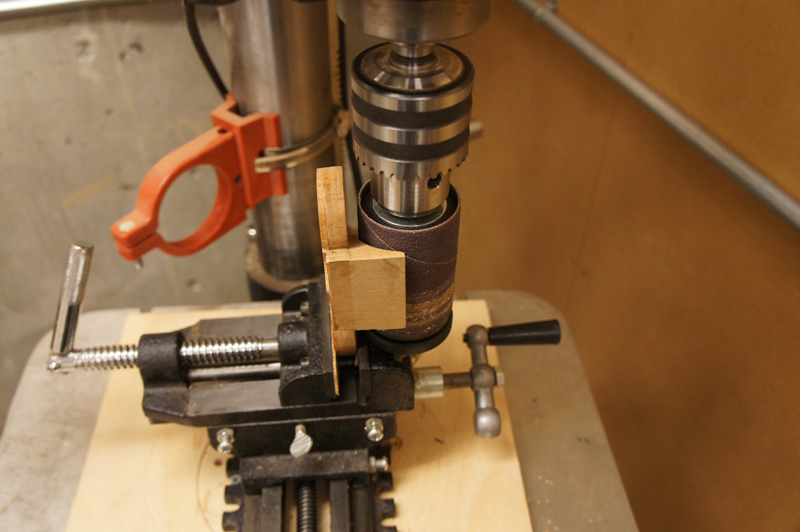
Normally I have a nice tool that allows me to drill the slotted-head holes and route out the slots. I don’t have a tool with the right spacing for the ukulele holes or a template narrow enough for the slots, so this one I mostly had to do the old-fashioned way.
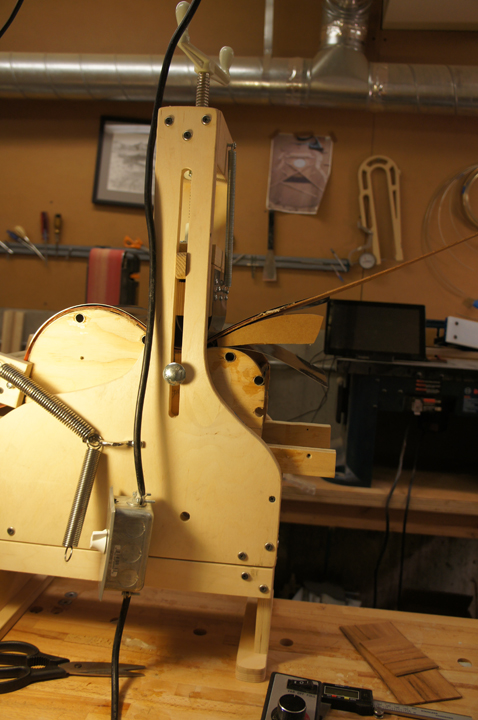
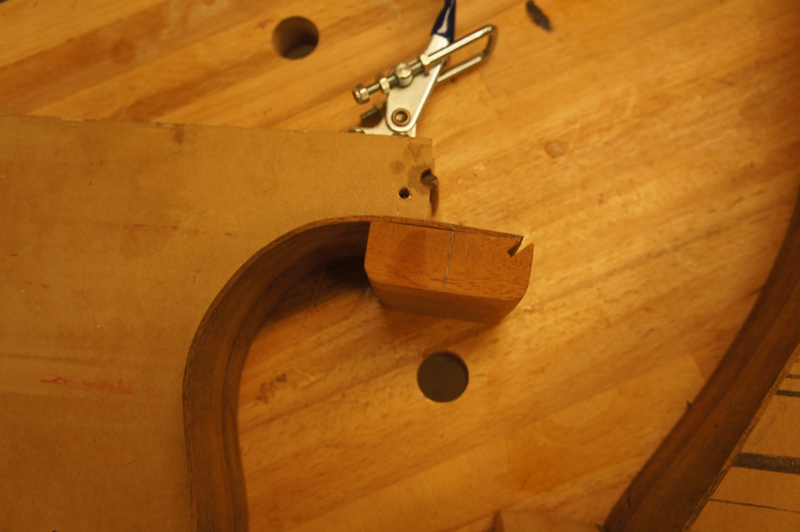
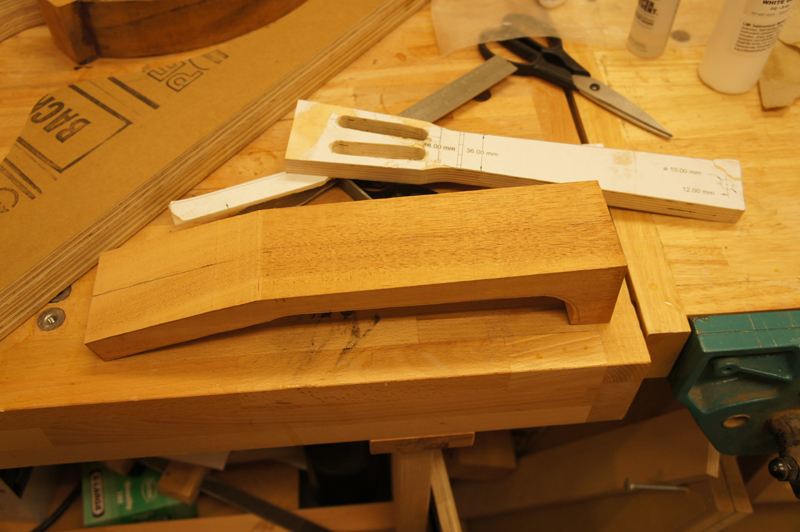
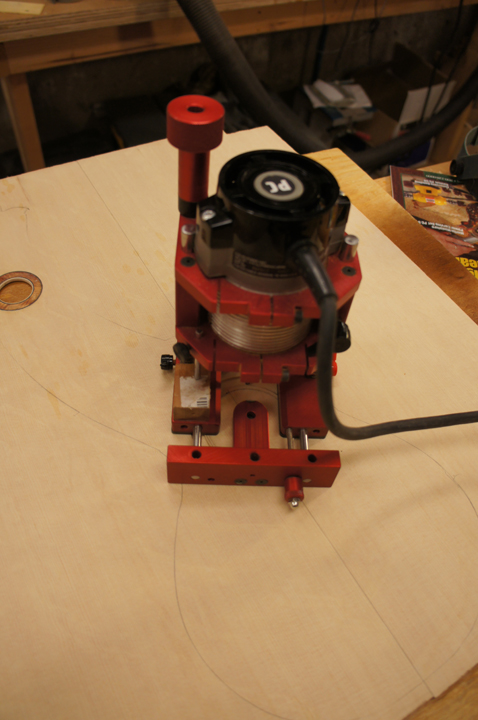
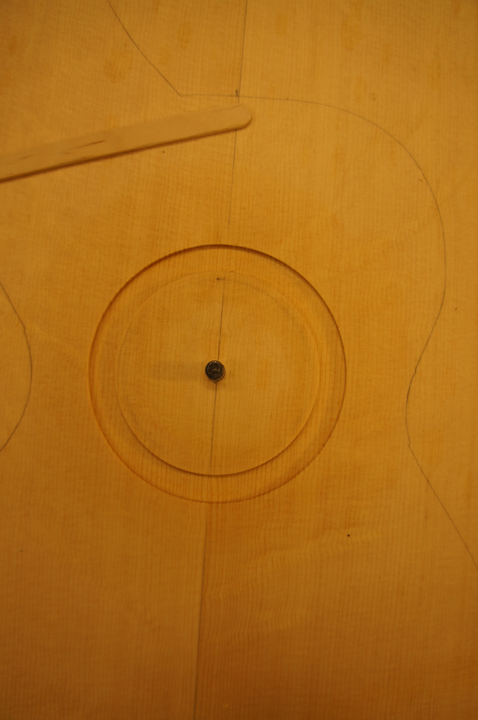
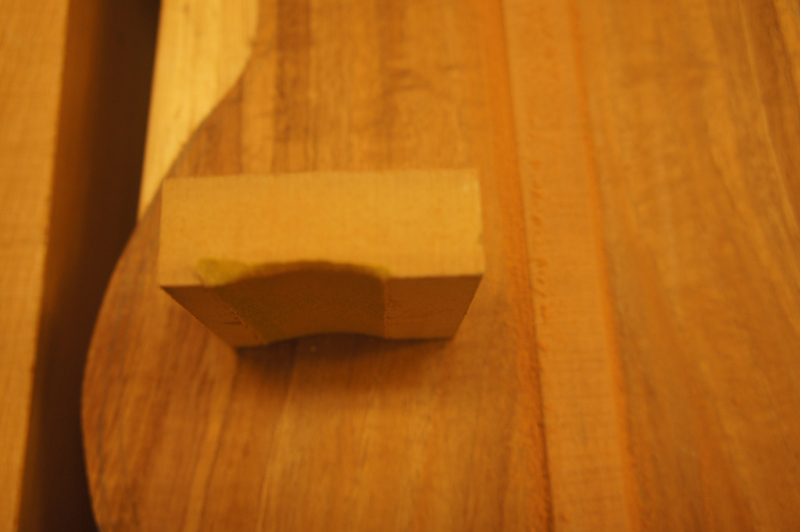
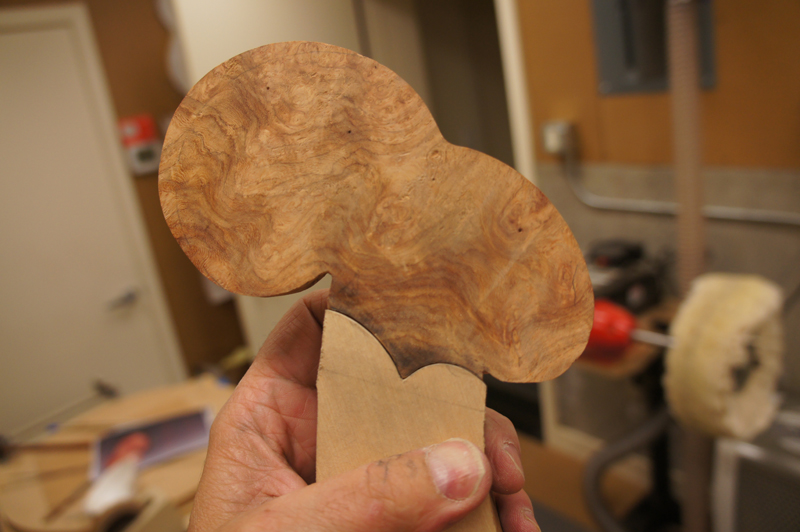
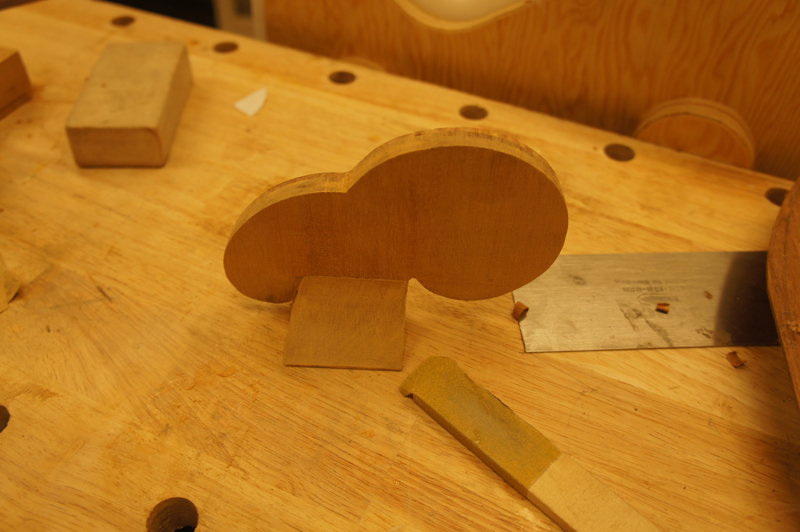
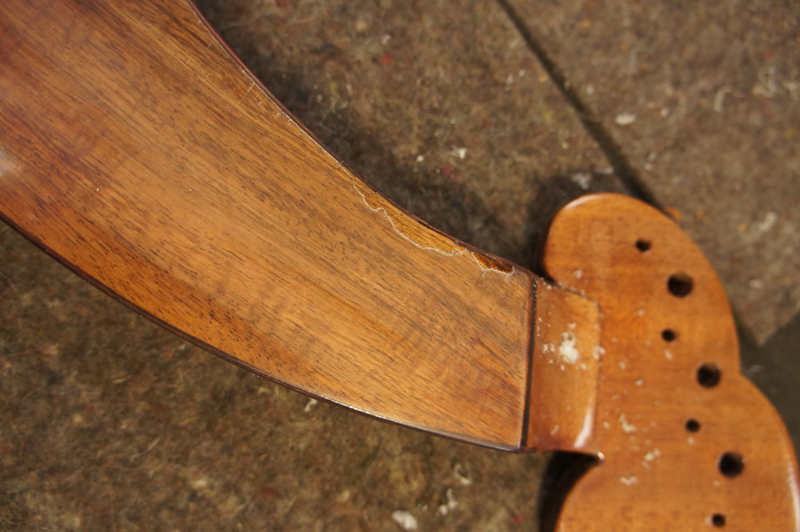
Router Bit LaunchOn the back of the harp headstock there is going to be a 1″ radius curve. I have a very sharp 1″ radius cove bit — a big bit, 2 inches around. Somehow I must not have tightened down the bit well enough because halfway through the cut the bit took off into the air like a whirlybird. I found it in the corner of the shop, still spinning. A good reminder to always check your collet.
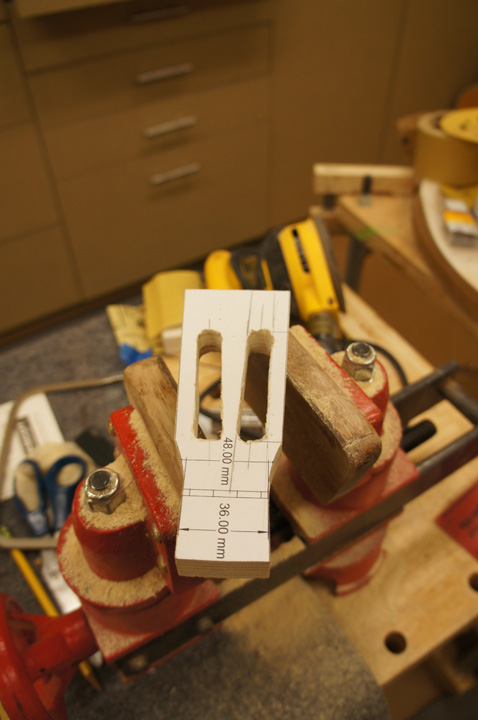
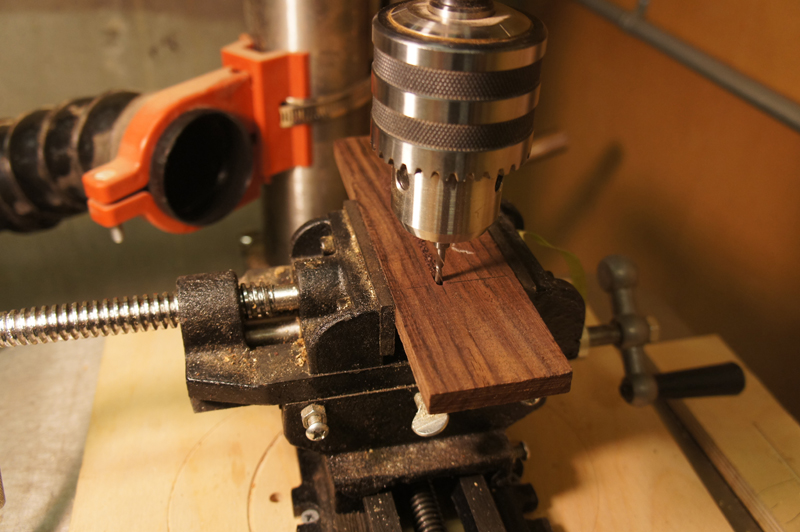
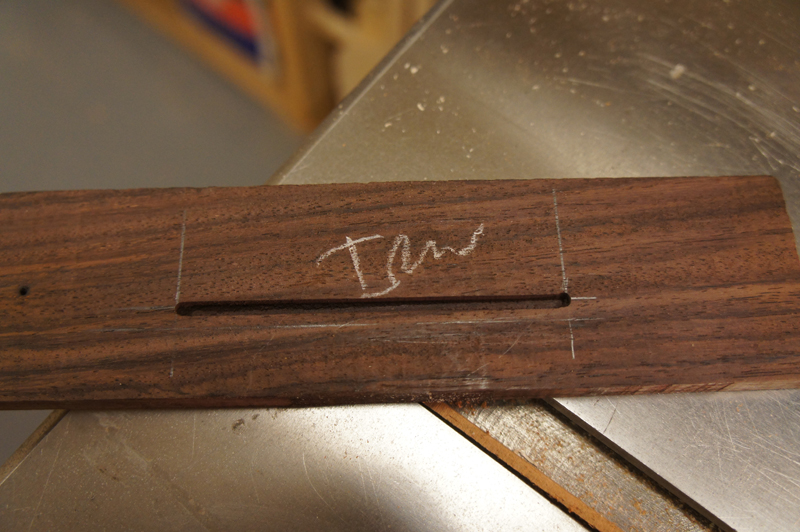
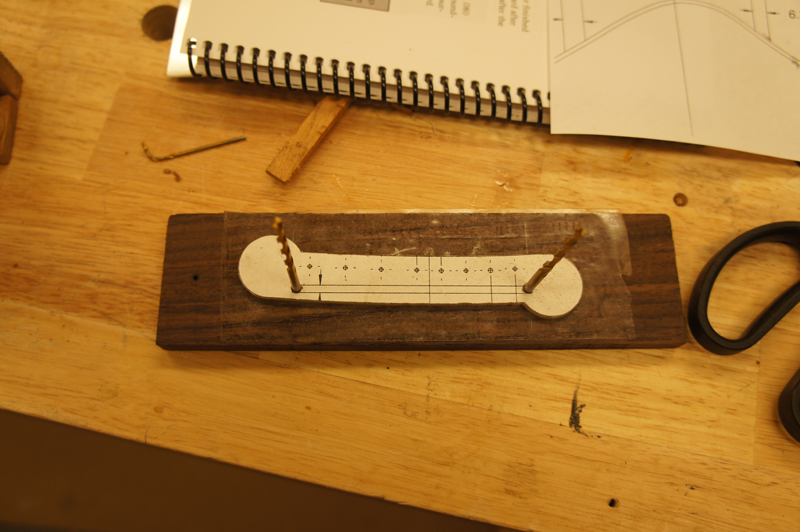
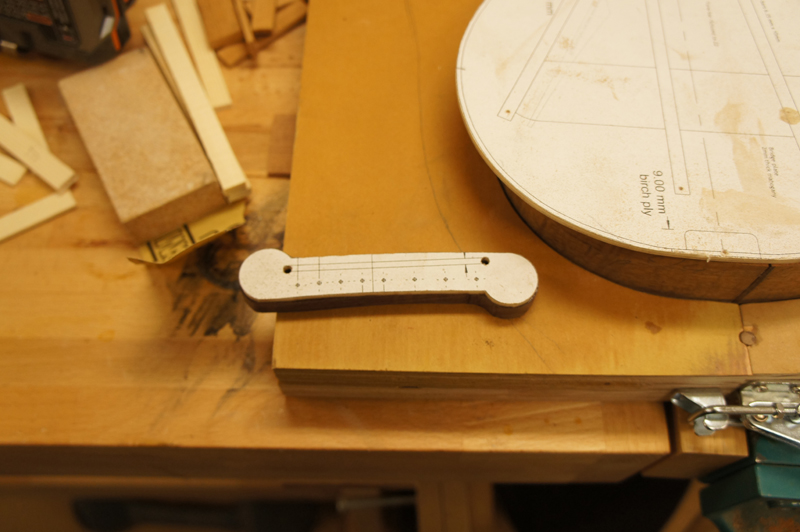
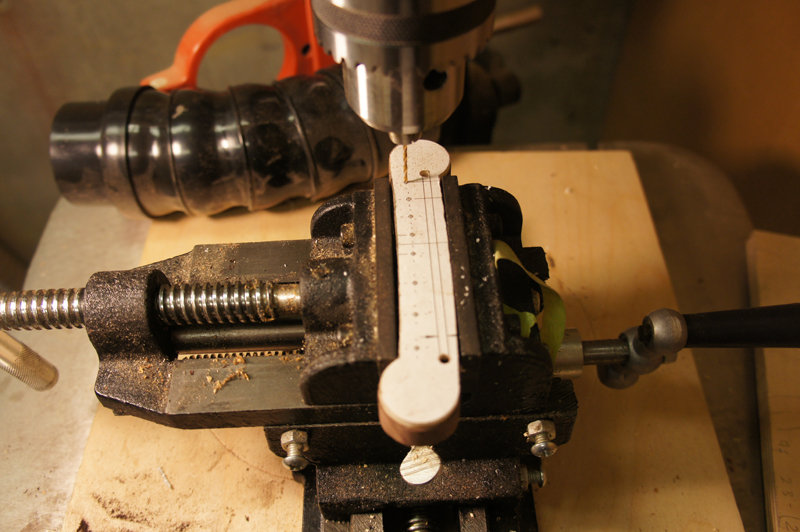
I made my first bridge today. No one seems to stock harp ukulele bridges, so I was forced to make my own. I used a cheap cross vise and a 1/8″ end mill — more accurate than me with a router.
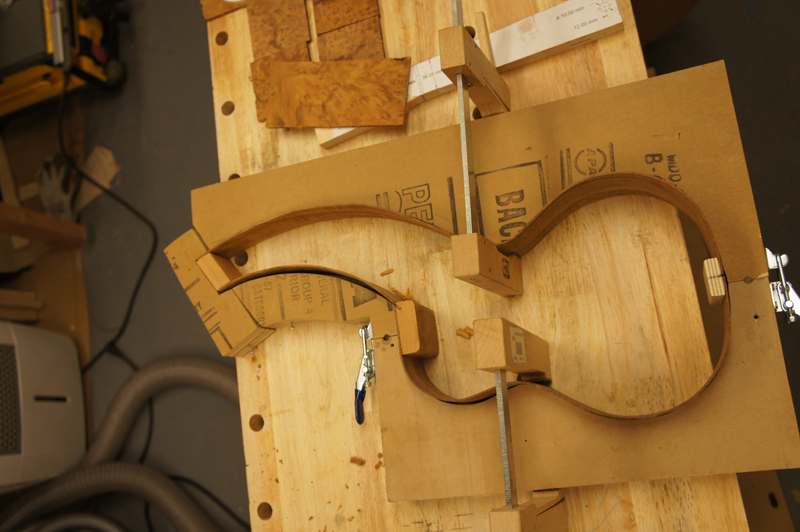
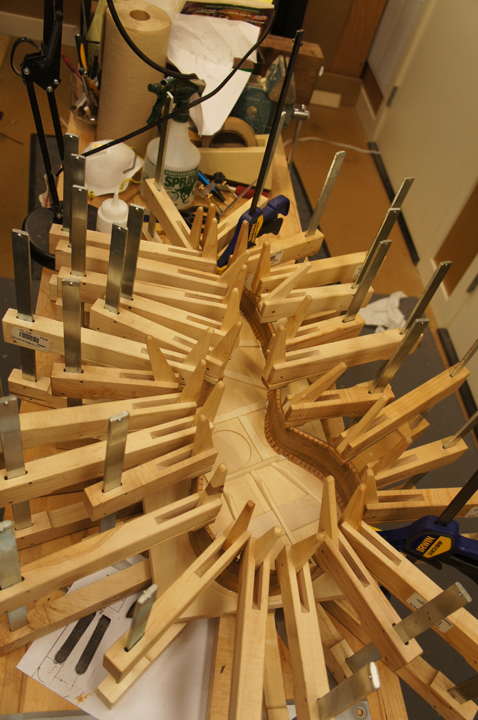
I finished making all the components and am ready to start putting the instrument together. Thanks to a timely post on Kathy Matsushita’s website about binding her instrument, I had a good approach for the odd shape.
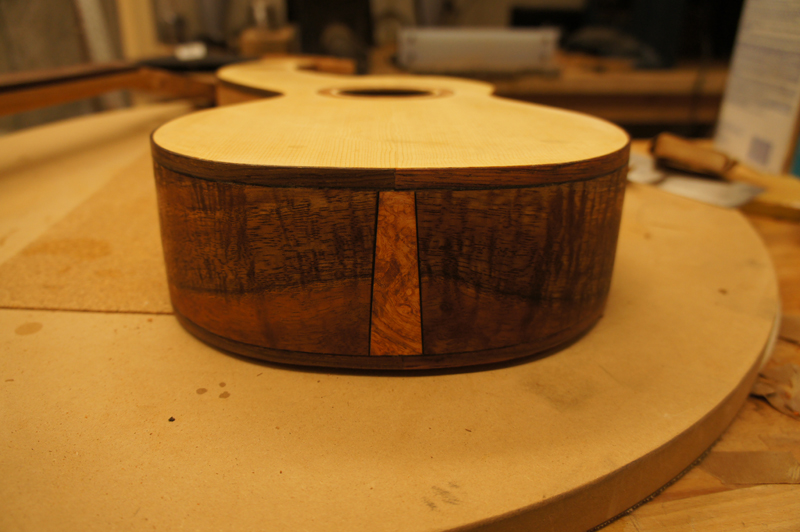
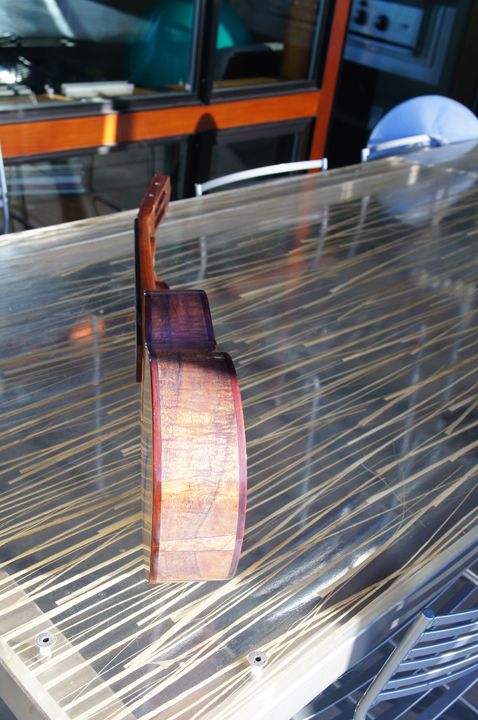
I put in the end wedge today and have the top glued down. Doesn’t everyone have the wedges thin-to-wide front-to-back? Oh well — a design feature! More aerodynamic! I am sure the reverse direction will improve the tone.
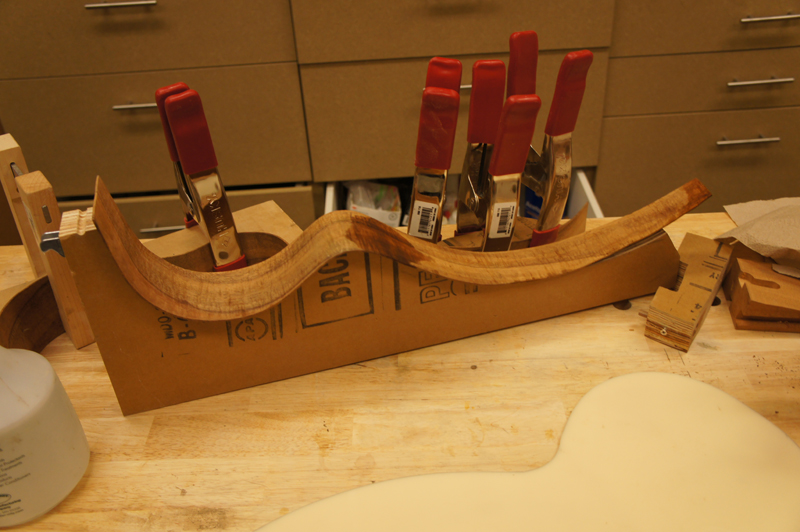
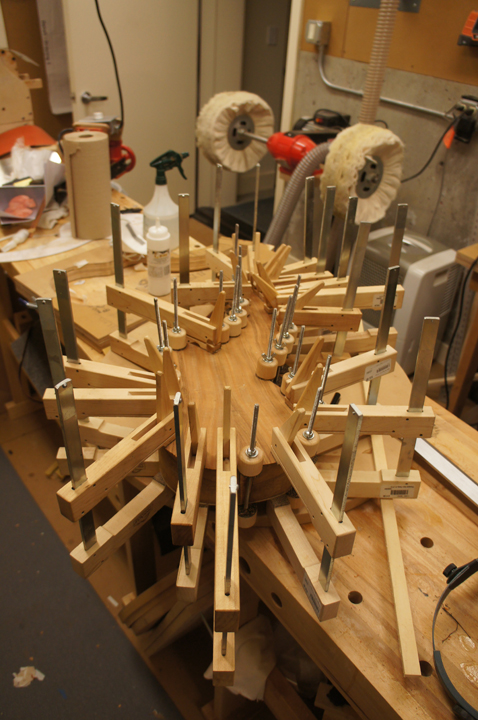
Clamp CollectionTony noted this post looks suspiciously like a clamp breeding programme. Kevin asked to borrow a dozen cam clamps. Ben suggested some of mine were crowded together and needed a better home. I am not sure one can ever have enough cam clamps.
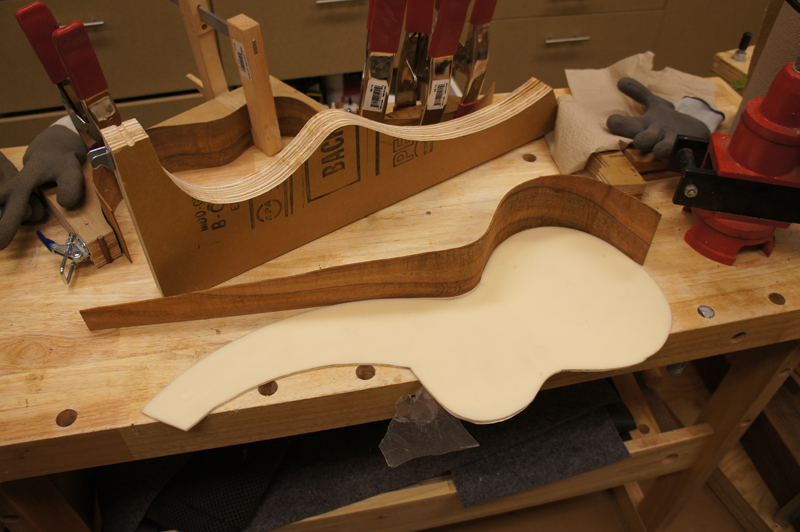
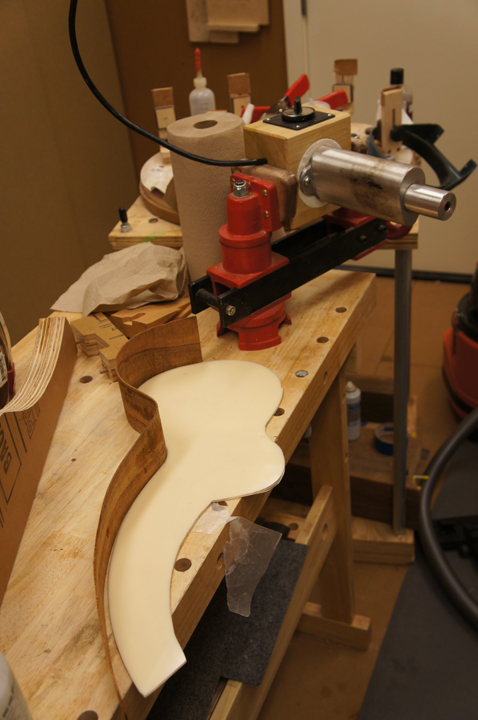
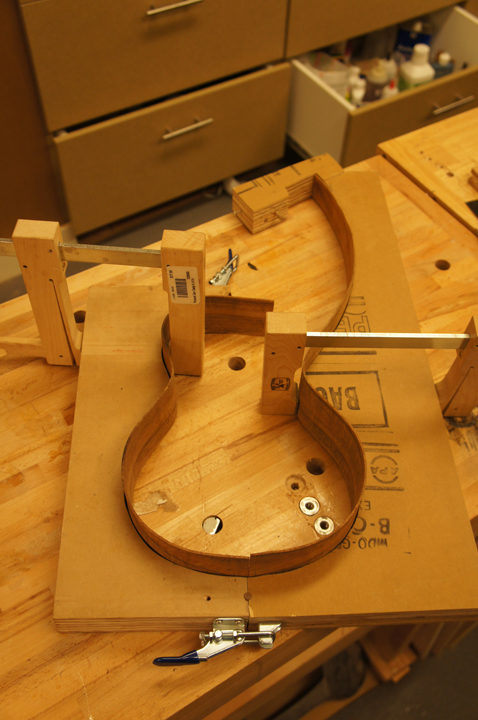
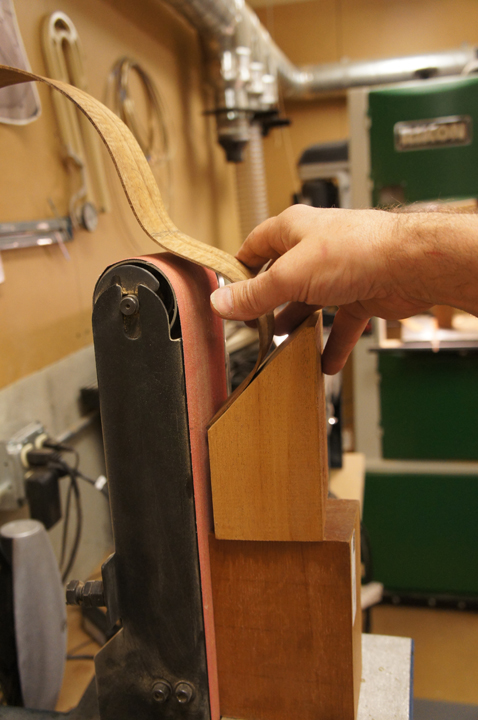
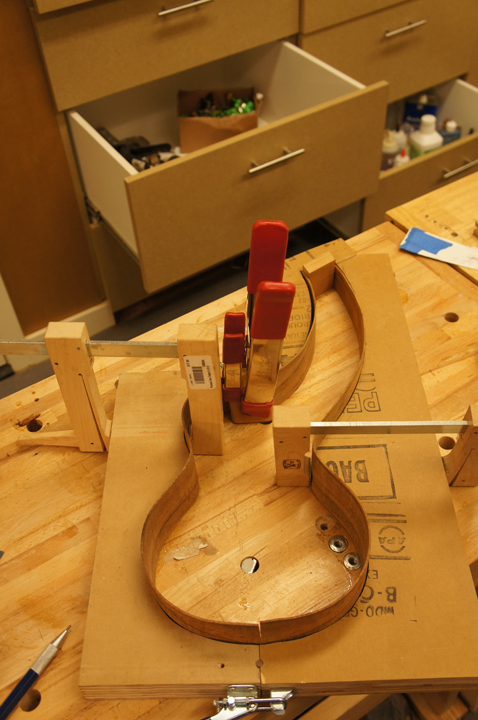
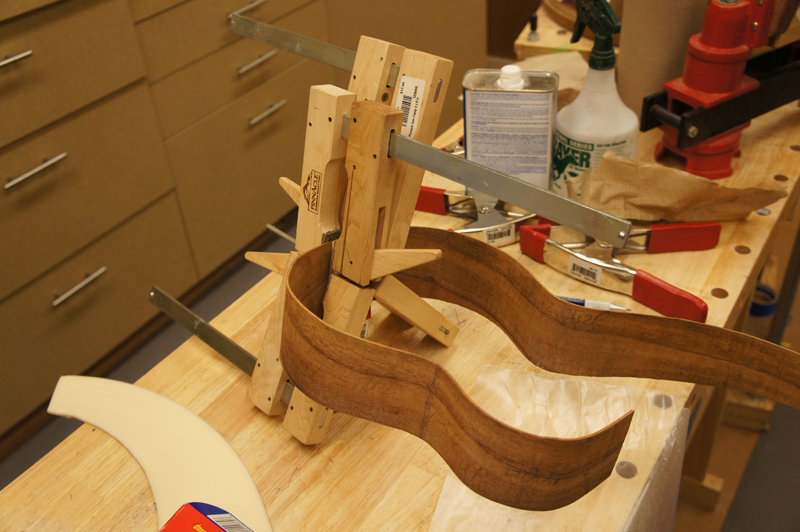
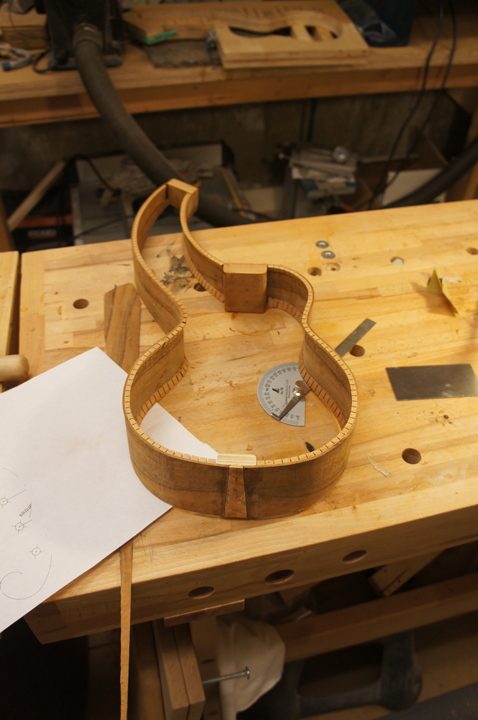
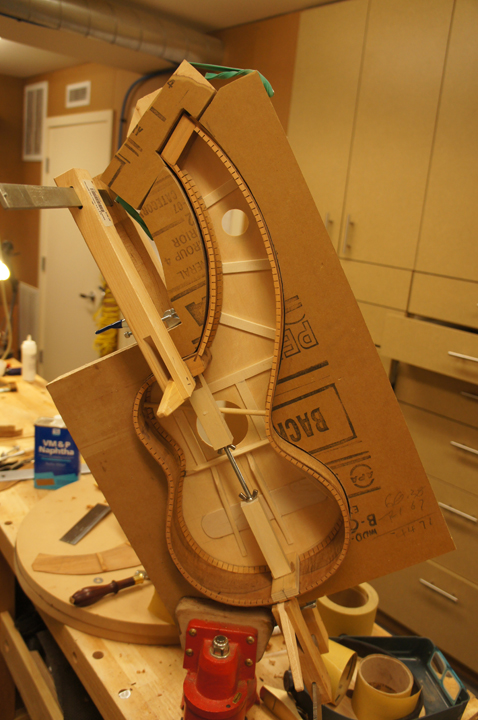
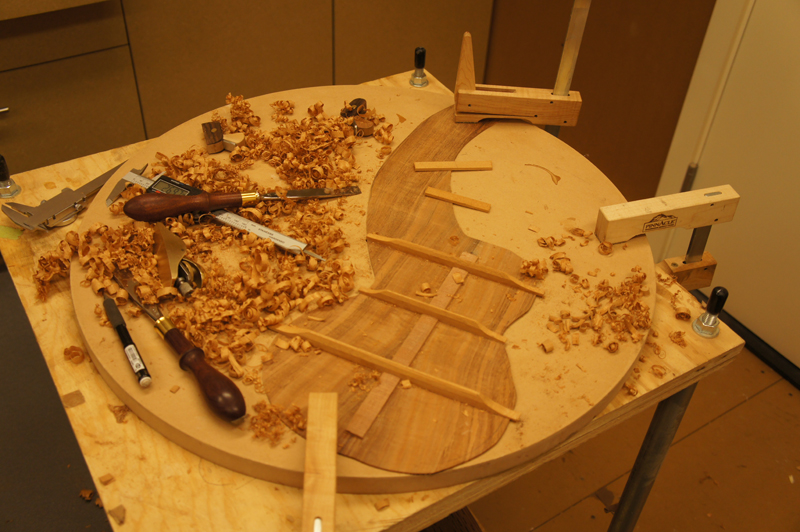
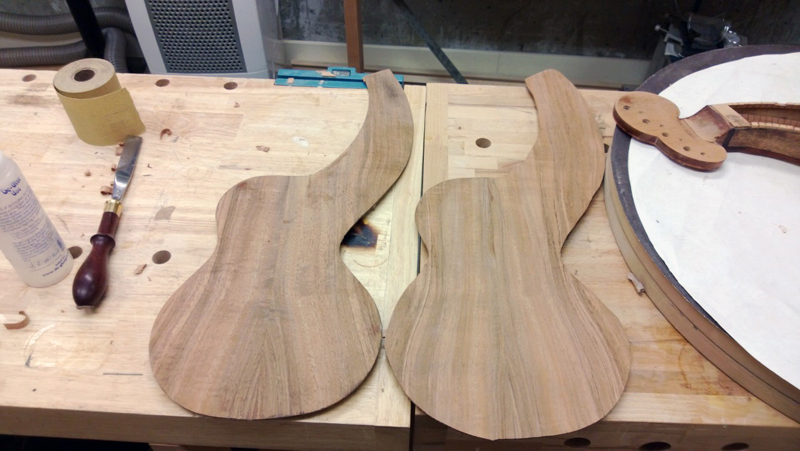
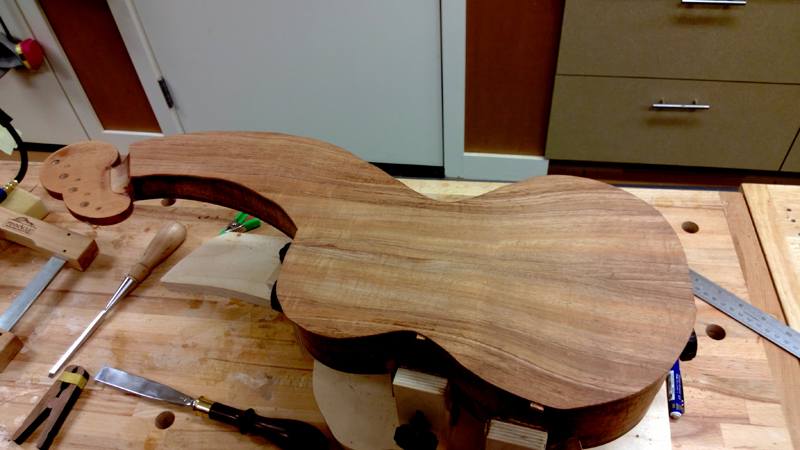
I was on vacation for ten days enjoying tropical storm Debby in Orlando for most of it. But I got back to the harp ukulele and started working on the sides and body assembly.
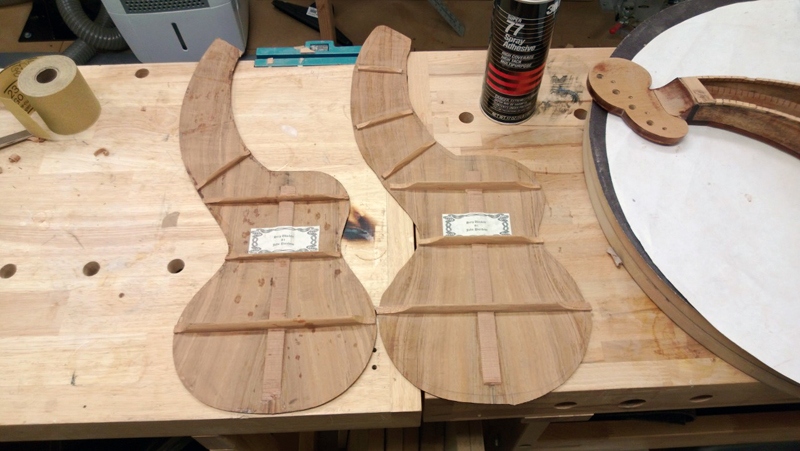
I managed to make a bit of progress this weekend. I successfully trimmed the top where the Spruce inlays into the pegboard. Getting the headstock veneer to match up with the top joint was fiddly work.
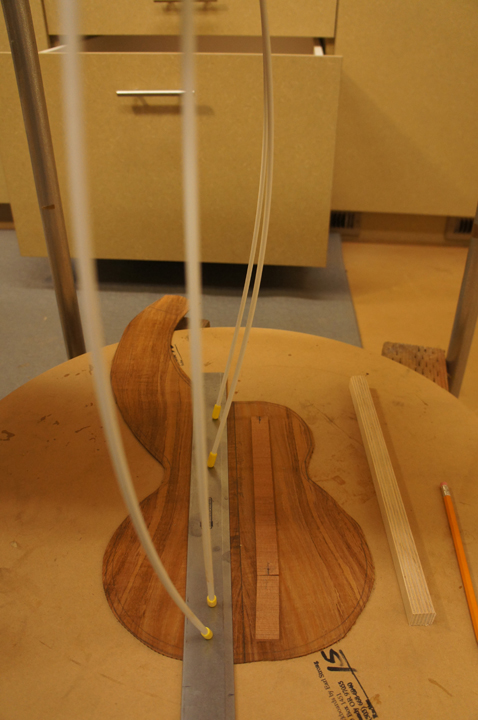
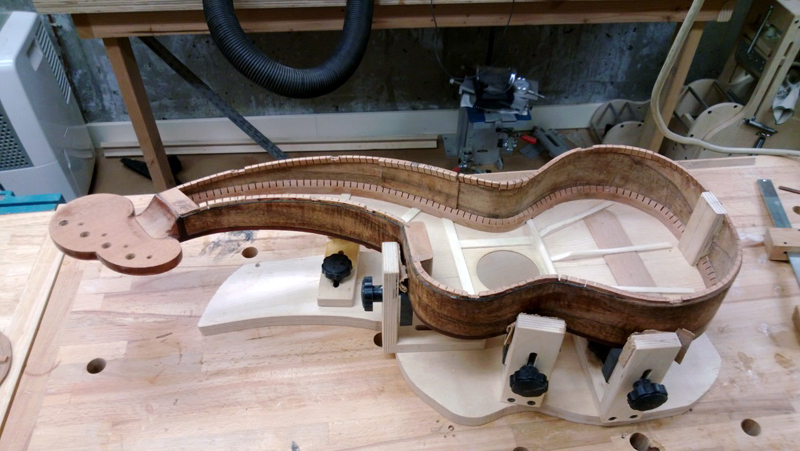
I spent this weekend almost finishing the bindings. I used a StewMac true-channel binding tool with a Colt router to route most of the rebate. I was able to use my Ibex purfling cutter to finish most of the rest near the harp pegboard. The remainder, including the top edge of the rim, I did by hand with a chisel.
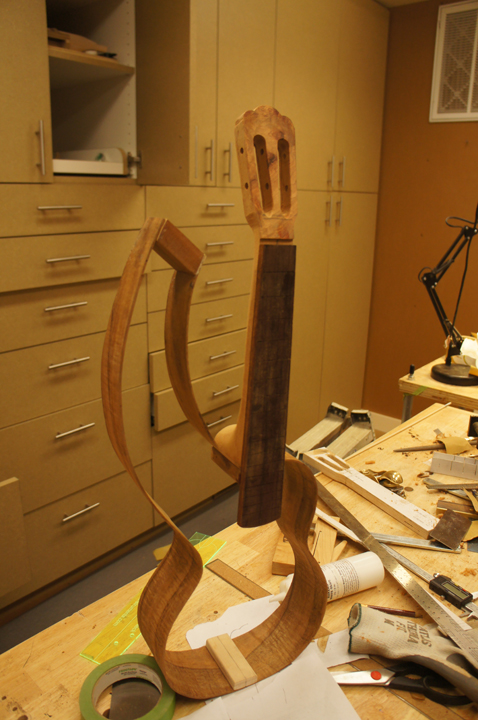
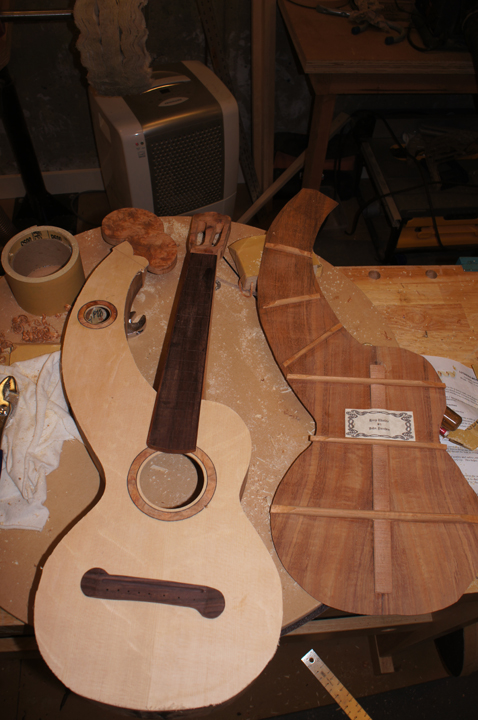
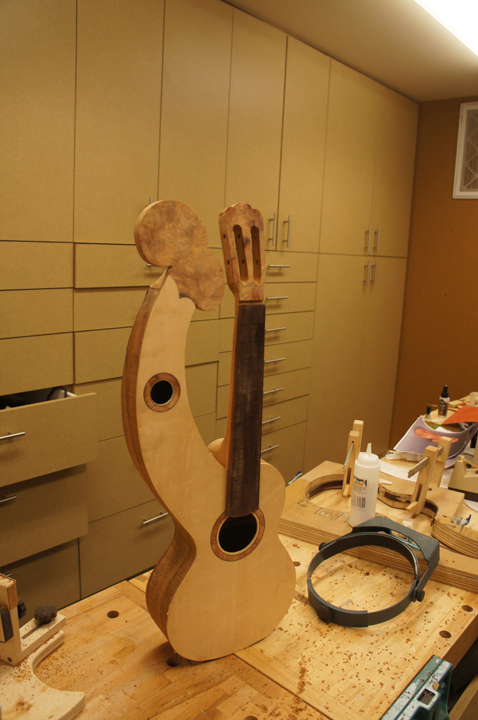
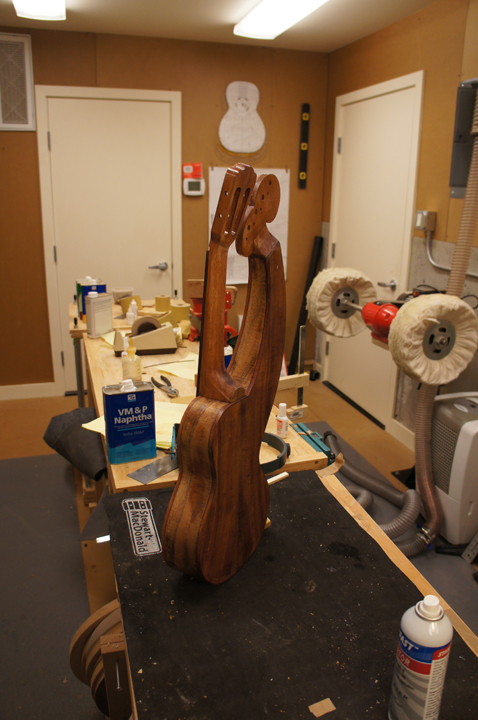
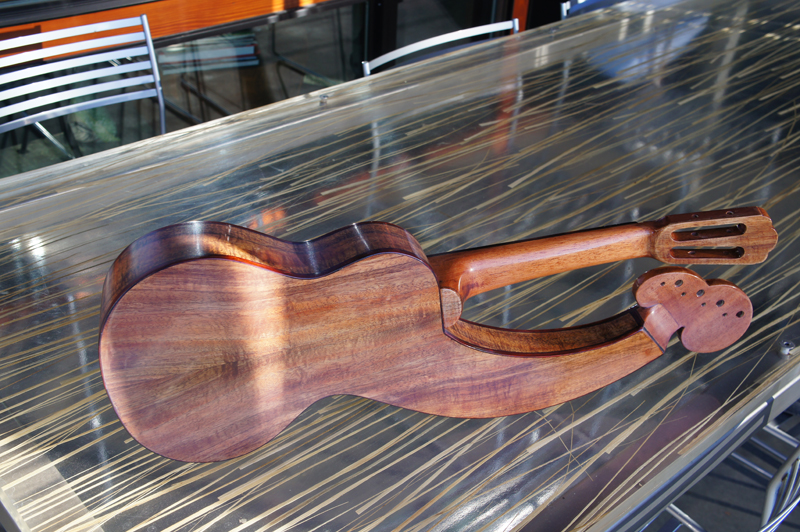
I am in the end game of the construction phase. I have the body, neck, and headstocks sanded. I drilled the harp tuning pegs. The neck angle is set and the fretboard is glued to the neck. I also laminated some black veneer to a bit of Koa for the truss rod cover.
I just completed the construction and am ready for finishing. I’ll pore-fill with Zpoxy. I am still debating between a U-Beaut French polish or spraying EM6000.
One step forward, a few steps back. I was doing the final sanding of the top, getting ready to spray, when I sanded the treble side of the upper bout too thin — not paying attention while trying to fix a flaw. I started a repair and was making good progress, but it wasn’t right.
The Decision to Re-TopLuckily I had the next slice of Amboyna, so I was able to make two new rosettes. I think I made the right decision — I am in it for the building so I might as well make it right. Plus I got to try a bunch of new skills. No CA glue this time; I used white glue for the top, which worked much better.
The bindings are back on without the messed-up top or purfling lines. Now I am really glad I changed the top.
I have it back in the finishing room. I cleaned everything up from pore fill to prep and have started spraying. I am getting pretty excited again.
Spot the MistakeSomeone noticed a fret position dot was in the wrong place — Kathy guessed it was the 16th fret, and she was right. I saw it right after I had the dot glued on. I did not follow my own practice of writing the fret number on every fret. I so carefully triangulated to get every dot correctly centred — on the wrong fret. I decided to leave it. If someone is playing that high on the neck they can figure out one fret from another.
I went away to the mountains for a month — no internet, not even cell. My wife and I dropped our youngest off at college, and instead of going home to an empty nest we kept going. But I digress.
I came home and I am not happy with my application of EM7000 — it is very blue. Maybe my coats were too thick. I am going to strip and refinish.
The EM7000 Lesson Kevin asked if I would try nitro on the second go around. No — I went back to EM6000. I had done four instruments with EM6000 and was happy every time. I should have stuck with what I knew.
Those that have followed this post will note that after spraying with EM7000, the instrument had a very muddy blue finish. I usually try to follow a rule: when things go wrong, put the tools down to think things through.
Stripping it meant taking off the back, the bindings, everything. I could have kept the old back, but once it was apart and given that I had an orphaned back, I made a no-compromise replacement. I admit this one hurt more than others.
AttitudeKen guessed the bad attitude was very prevalent before my fingers touched the keyboard. Not a bad guess — I did wait a while before I could write about it. Kathy and Kevin were encouraging. Tony said it was looking fantastic. The forum held me up through the worst of it.
I have the instrument back in the finish room with a couple of coats of Zpoxy. I am so happy to see the wood again without the blue tint. This weekend I will start to spray EM6000 instead of EM7000.
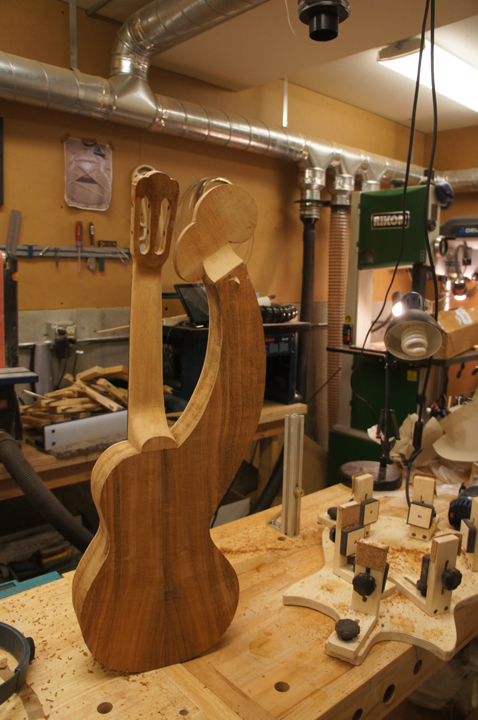
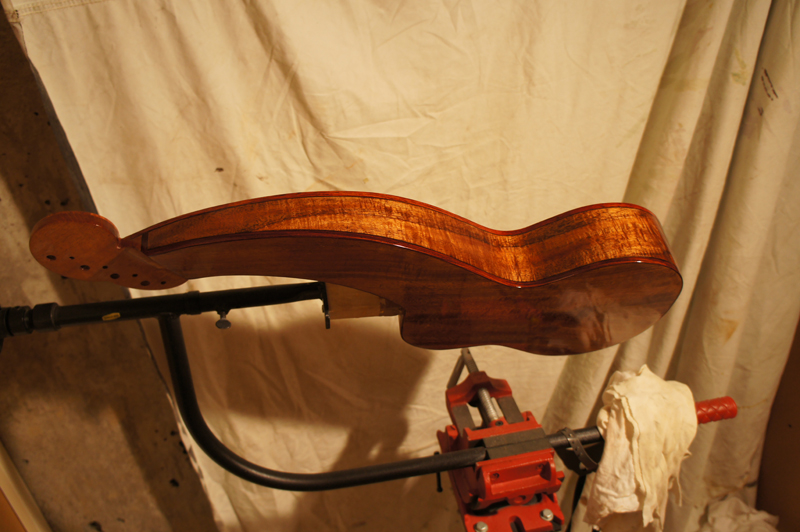
But then I changed my mind. After I put a wash coat of shellac on the pore-filled back and sides, I noticed that the instrument has an older-time feel to it. So I decided to apply a French polish finish. I like doing FP — each night you can leave the instrument looking better than the night before.
I am on to French-polishing the top. This is a bunch of fun. What I like about FP is that I can get a good even surface with no sandpaper or even polishing compound.
French Polish Kevin worried about durability. Treated correctly, shellac is very durable and easy to maintain. This instrument falls into the “treated nicely” category. U-Beaut hard shellac is a cross-linking FP-type shellac that builds up a surprisingly tough finish.
I am getting very close. I need to wait a few days to let the finish set, but I have finished the French polishing.
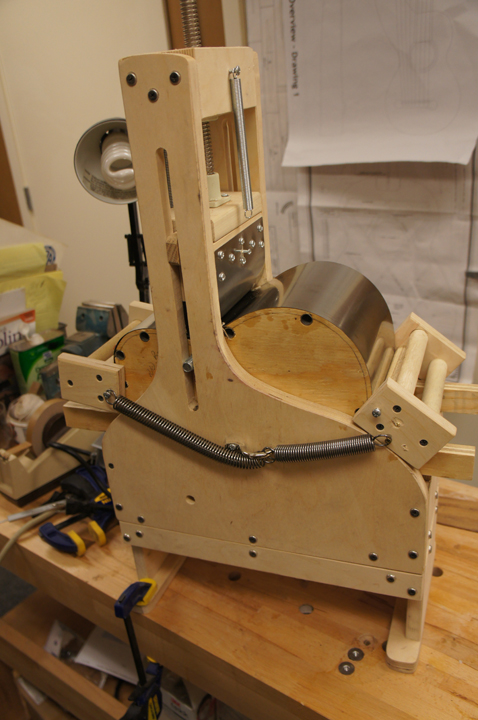
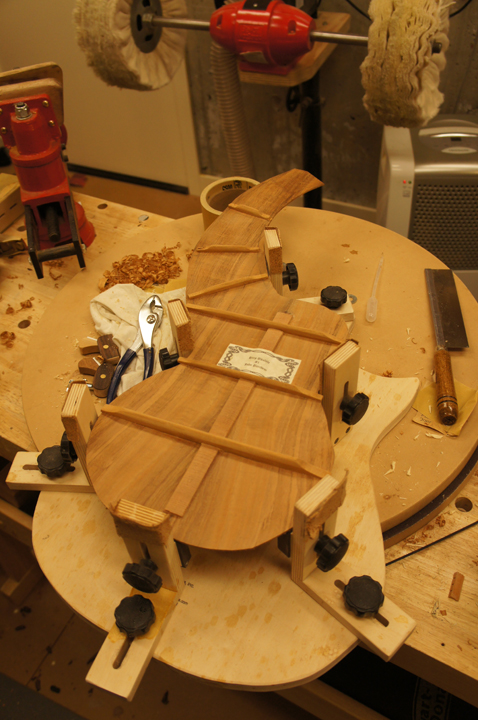
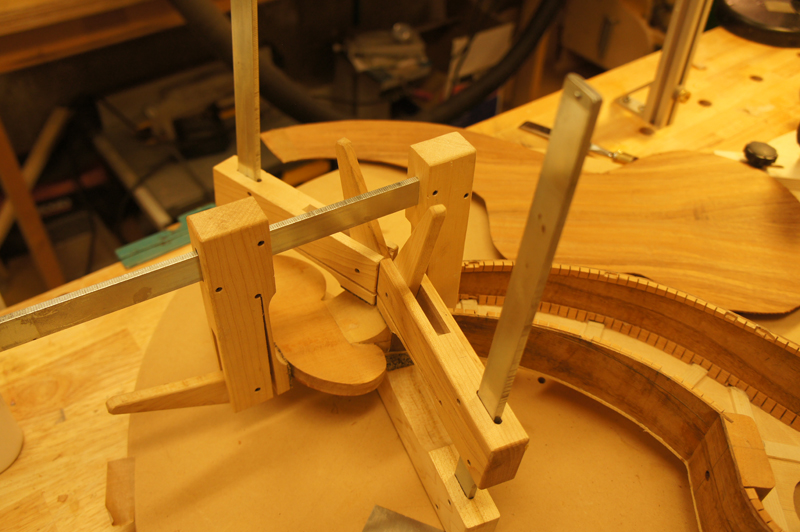
I figured out how to glue on the bridge — hopefully. I was struggling because my hand is too big to get a caul in the right spot inside the instrument. I was working on a vacuum clamp but ran into problems. This is an 8-string instrument with a complex bridge geometry; nothing is off the shelf.
Bridge Clamping The harp ukulele bridge spans an unusual area and the internal access is limited. I ended up designing a custom clamping solution using threaded inserts and cauls shaped to the interior bracing. Sometimes the hardest part of building an unusual instrument is inventing the jigs.
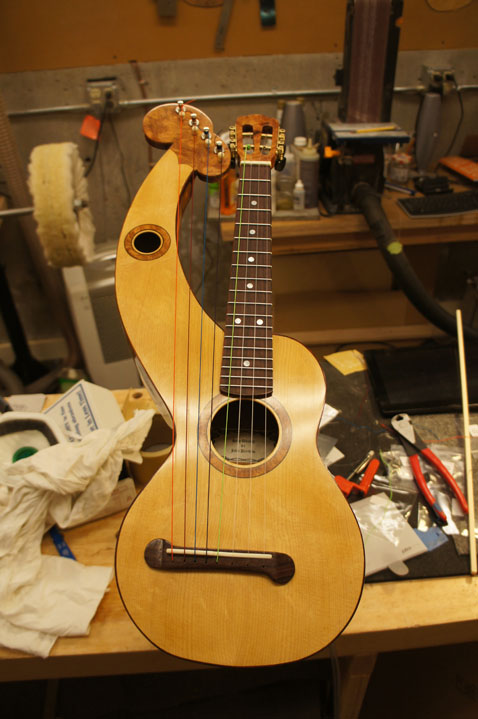
I strung her up today. It does sound good — still like a ukulele, but with a bit of punch and power. I have no idea how I want to really tune it. Right now it is standard tenor ukulele except the 4th string is an octave lower. The sub-bass strings repeat the notes an octave lower, more like a guitar tuning.
I gave the instrument to a flamenco player I know and he had a great time with it, including the bass strings. He was combining chromatic bass runs on the harp strings with scale-like runs on the fretted strings. Then it sounded more than OK.
Please excuse my bad playing — at least you can see and hear the instrument. I get so nervous when I try to play before others or record.
Specifications
StyleHarp Ukulele — 8 String
PlansPete Howlett (UK)
TopBear Claw Sitka Spruce
Back & SidesKoa
RosettesAmboyna Burl
Headstock VeneerAmboyna Burl
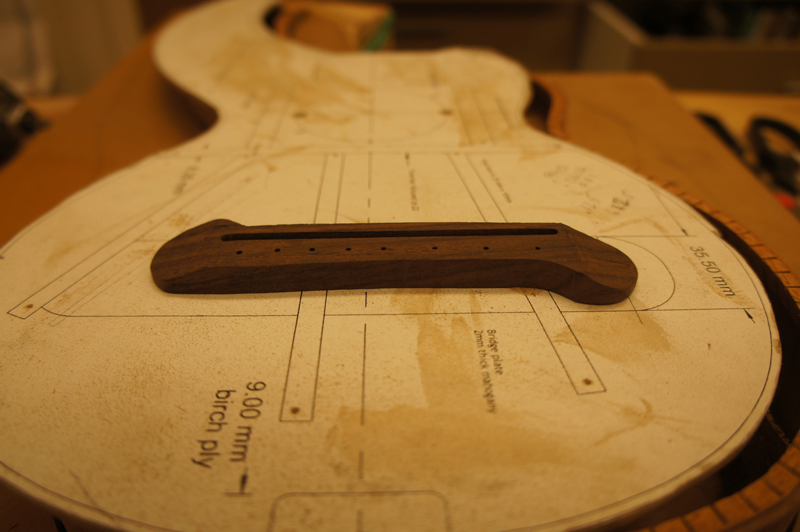
BridgeCustom — Handmade
FinishFrench Polish (U-Beaut Hard Shellac)
TuningStandard Tenor + Sub-Bass Octave Strings
Built ForCity Arts Program Auction
Build PeriodApril 2012 – January 2013